


INDUSTRY NEWS & COMPANY UPDATES
NJR STEEL NEWS & RESOURCES
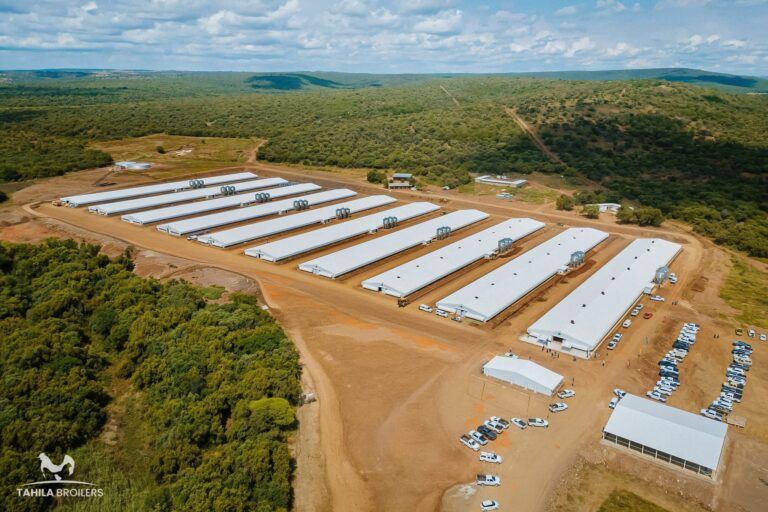
700,000 birds. 10 massive houses. One groundbreaking vision. 🚀🏗️ The South African poultry sector just took a massive leap forward with the launch of Tahila Broilers. This isn’t just another farm, it’s one of the most technologically advanced broiler operations in Africa, and NJR Steel Potchefstroom is proud to have been a part of it. From the structural steel to the specialized roofing, we helped turn Chris Travers’ "precision engineering" vision into a reality. 🇿🇦✨
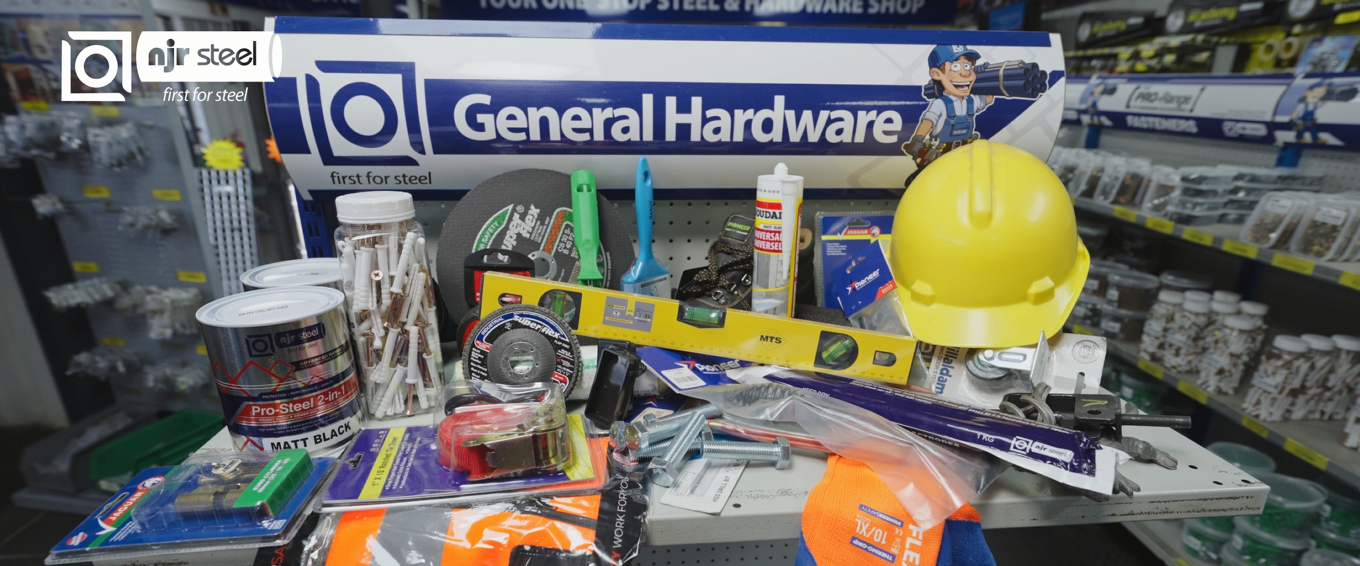
Here’s the thing, many people don’t always realize: we've got everything you need to build, fix, weld, paint, and install that steel, too. We're not just a supplier; we're your project partner. Welcome to your true one-stop shop for steel, hardware, tools, paint, and accessories.

Steel needs strength—but it also needs protection. That's where a proper finish makes all the difference. Whether you're painting fencing, roofing, trailers, or gates—NJR Steel has the paint to seal, protect, and finish the job right. We stock a full paint range—from tough primers to vibrant, durable topcoats.